
Most small shops do not need a photographer to sell online. They need a phone, a window, and a little discipline. The problem is that product photos are usually taken in a hurry, under a tube light, on a cluttered counter, and then uploaded to Facebook, Instagram or a website where they sit next to competitors who bothered to try.
This guide covers product photography with a phone for small businesses: what to set up, how to shoot, which shots to take, and how to prepare files so they load fast and show up properly in search. It is written for owners who sell physical products, such as clothing, jewellery, food packaging, handicrafts or electronics, and who want clean photos without buying equipment.
Why product photos decide more than you think
When a customer cannot touch your product, the photo is the product. A blurry, dark or oddly cropped image raises doubts: is this the real item, is it good quality, will the colour match? Those doubts are what stop a message from being sent.
Photos also do quiet work outside your own pages. Google's own documentation on image best practices says sharp, high-quality images appeal more to users and look better as result thumbnails. If your images are also part of a product listing on Google, the rules get stricter, which we cover below.
The good news is that the difference between "bad" and "decent" product photography is mostly about light and background, not about the camera.
Set up a simple shooting spot
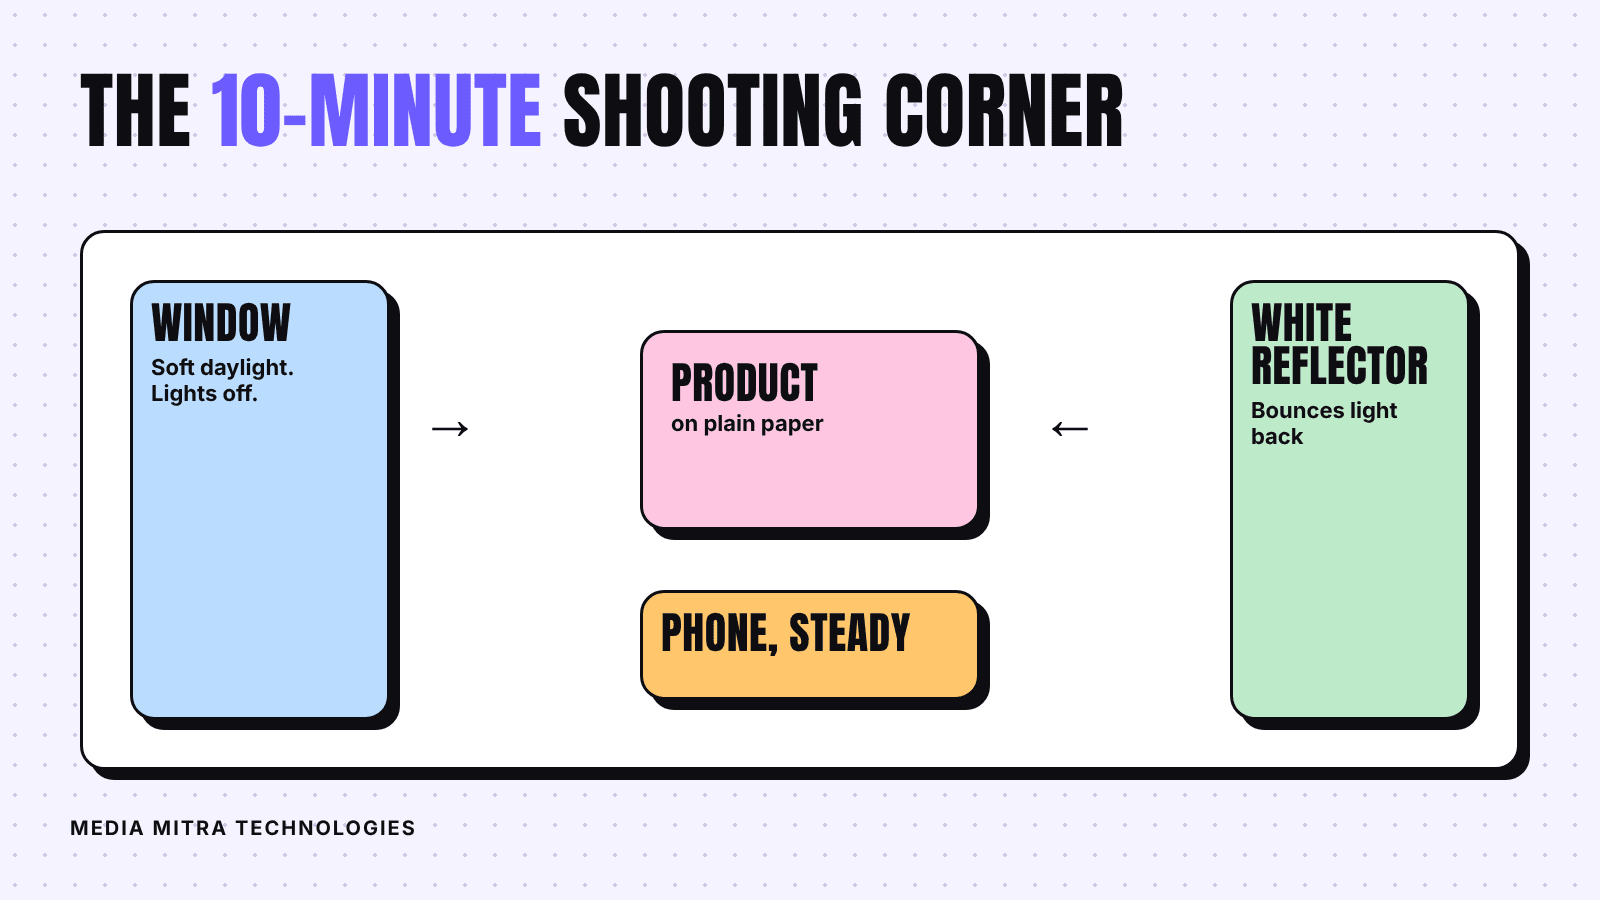
You can build a working studio in one corner of a room in about ten minutes.
Use window light, not the ceiling light
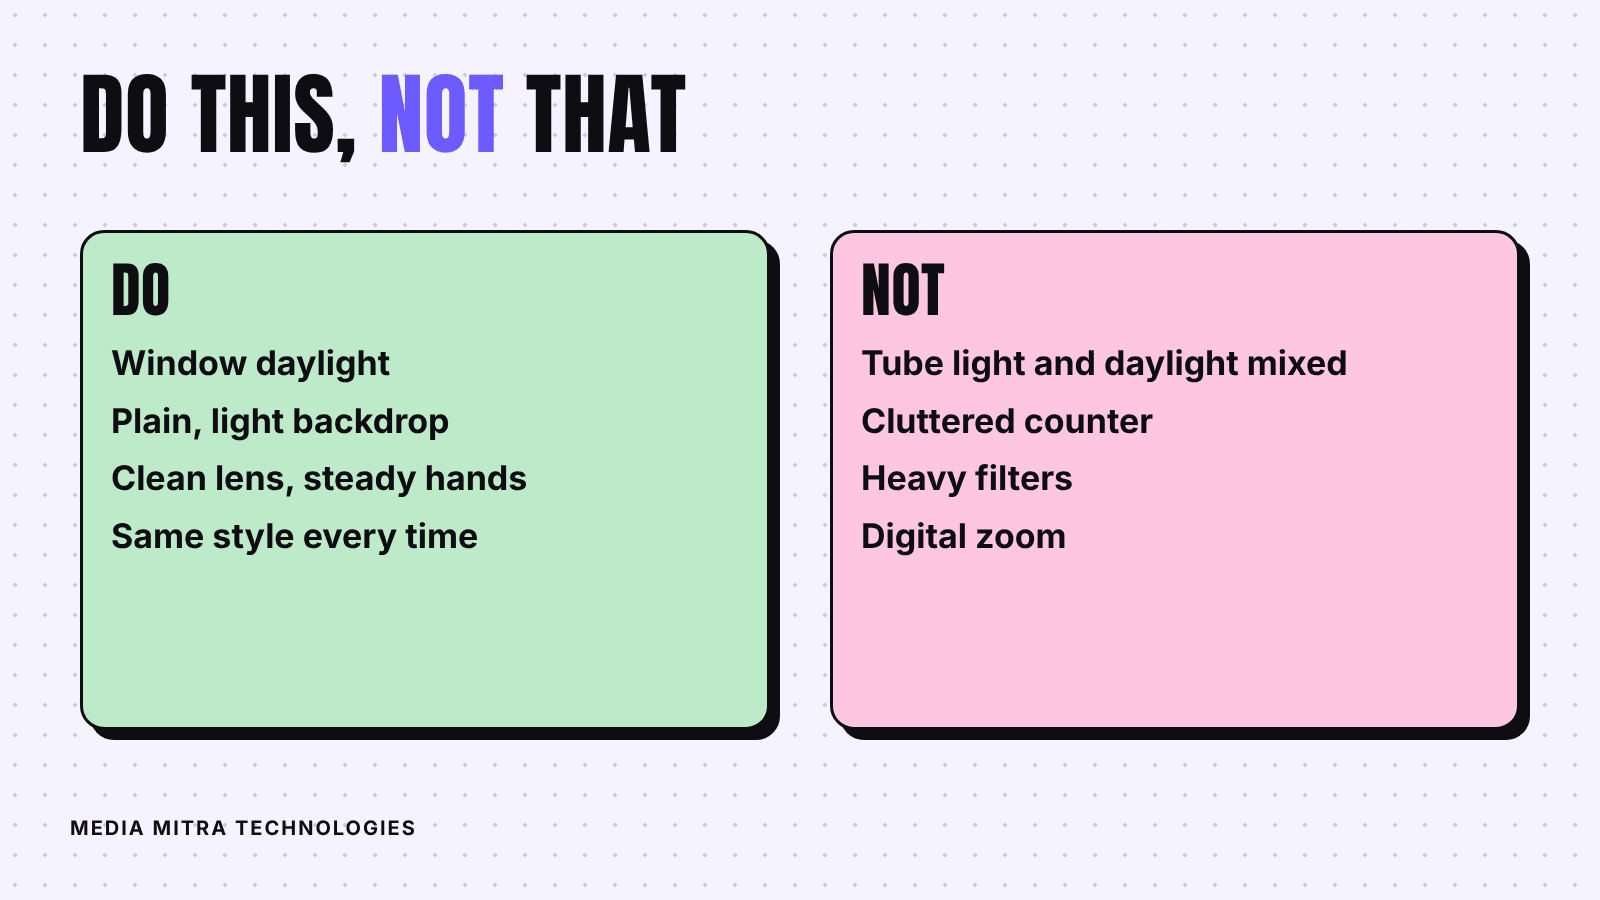
Place a table next to a window that gets bright but not direct sun. Direct sun makes harsh shadows and glare on shiny surfaces. If the sun hits the window, hang a thin white curtain or a bedsheet over the glass to soften it.
Turn off the room lights. Mixing yellow tube light with daylight gives products a colour cast that is hard to fix later.
Pick a plain background
A white chart paper or a plain light sheet works for most items. Curve the paper from the table up the wall so there is no visible edge line behind the product. For dark products, a light grey background shows the shape better than pure white.
Avoid patterned cloth, busy shelves and your own shop clutter in the frame. The customer should see the product first.
Use a reflector
Put a white sheet of paper or a piece of foam board on the side opposite the window. It bounces light back and lifts the shadows. This single trick is the cheapest way to make photos look professional.
Camera habits that fix most problems
Modern phones are good enough. What goes wrong is how they are used.
- Clean the lens. A thumbprint on the lens is the most common cause of hazy photos. Wipe it with a soft cloth before every session.
- Hold still. Rest your elbows on the table, or use a cheap tripod or a stack of books. Blur from shaking hands is easy to prevent.
- Tap to focus, then adjust exposure. On most phones, tapping the product sets focus, and a small slider lets you brighten or darken the image before you shoot.
- Turn on the grid. The grid lines in your camera settings help you keep the product centred and the horizon straight.
- Avoid digital zoom. Digital zoom just crops the image and lowers quality. Move closer or crop later.
- Shoot more than you need. Take five or six frames of each angle and pick the best one.
Keep the style the same
If every product is shot on a different background with a different angle, your page looks messy even when each photo is fine. Pick one background, one distance and one set of angles, and repeat them. A consistent look also supports your brand, which we explain in our brand style guide for small businesses.
The shot list: which photos to take
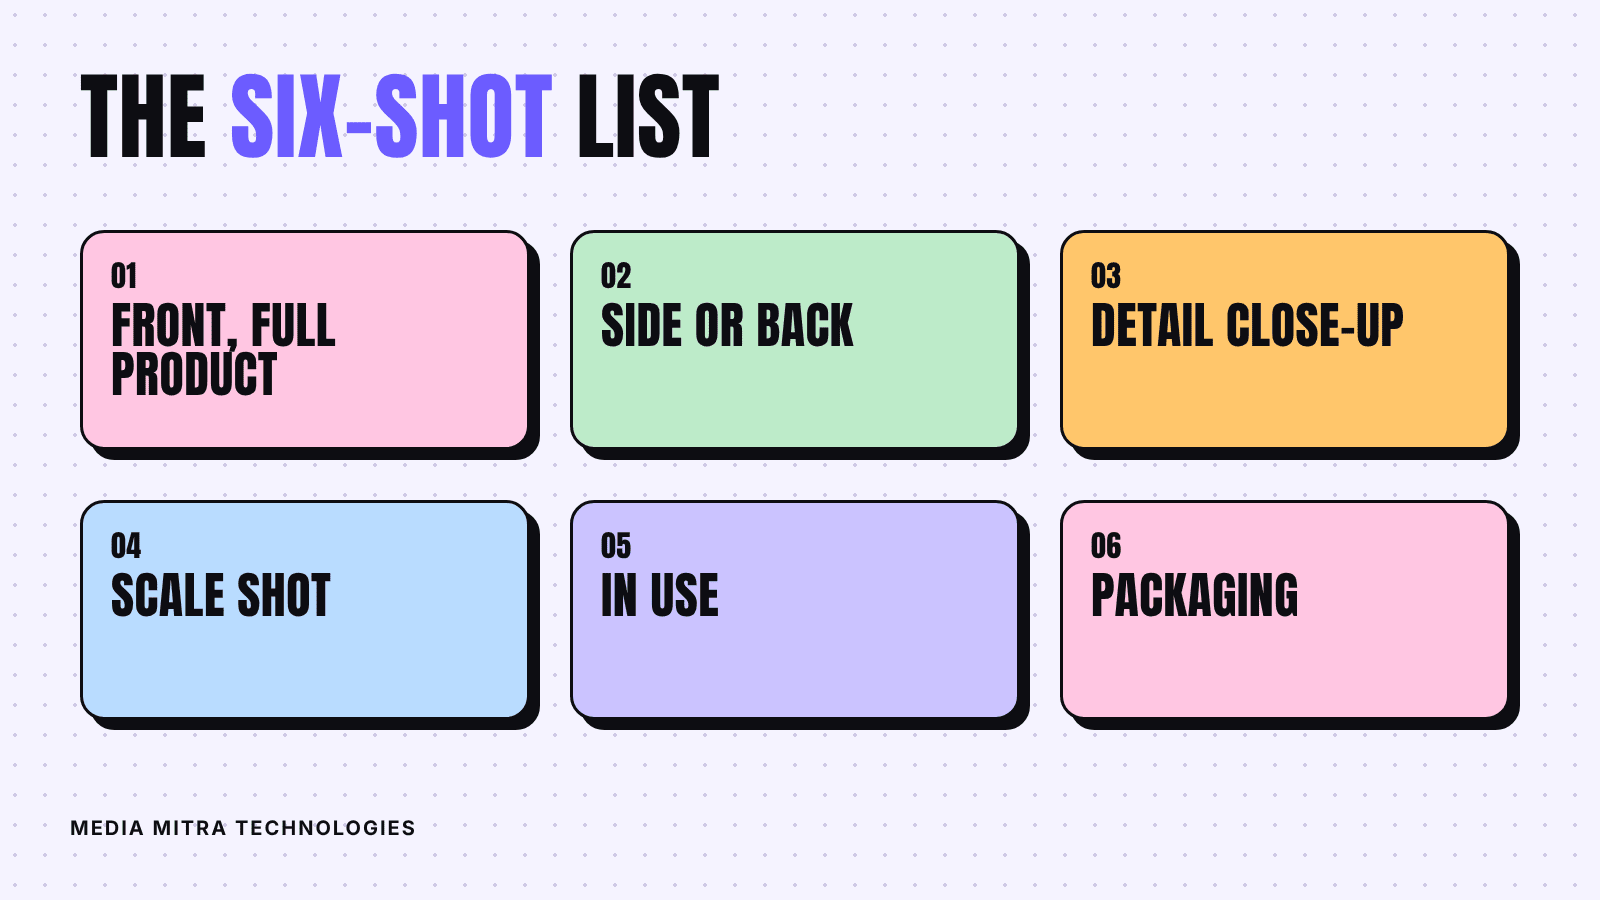
One photo is rarely enough. A basic set for each product answers the questions a buyer would ask in person.
| Shot | What it answers |
|---|---|
| Front, full product | What does it look like overall? |
| Side or back | Is there anything the front hides? |
| Close-up of detail | What is the material, stitching, texture or finish? |
| Scale shot | How big is it? Show it in a hand or next to a familiar object |
| In use | How does it look when someone uses or wears it? |
| Packaging | What will the customer receive? |
Colour accuracy matters most. Many returns and angry messages begin with "the colour looked different." Shoot in daylight, do not apply heavy filters, and if a product comes in several colours, photograph each one rather than editing a single photo.
For food and other small items, a top-down shot is often the clearest. For clothes, hang them on a plain wall or lay them flat on a clean surface, and add one photo on a person if you can.
Editing: light touch only
You do not need advanced software. The free editor in your phone gallery is usually enough.
- Crop so the product fills most of the frame, with some space around it.
- Straighten any tilted lines.
- Brightness and contrast: small adjustments only, so the product still looks like the real item.
- Do not over-sharpen or over-saturate. A product that looks nothing like the box that arrives is worse than a slightly plain photo.
Keep the original files in a folder so you can re-edit later. Edit a copy for upload.
Prepare photos for your website and search
A good photo can still hurt you if it is huge or badly named. Images are often the largest contributor to page size, according to Google, so optimise them to keep pages fast. That ties directly to how quickly your pages feel to visitors; see our plain-English guide to Core Web Vitals for why this matters.
File names
Rename files before uploading. Google's guidance prefers short, descriptive names such as my-new-black-kitten.jpg over IMG00023.JPG, and says to avoid generic names like image1.jpg. For your shop, that looks like red-cotton-kurta-front.jpg, not photo-0042.jpg.
Alt text
Google calls alt text the most important attribute for adding metadata to images, and it also helps people using screen readers. Describe what is in the image in plain words, fitted to the page. Do not stuff keywords. Google's own example of a good description is "Dalmatian puppy playing fetch." For you: "Red cotton kurta laid flat on a white background."
Format and size
Google Search supports BMP, GIF, JPEG, PNG, WebP, SVG and AVIF. For product photos, JPEG or WebP is the practical choice. Make sure the file extension matches the actual file type. Resize very large phone photos before uploading to your website, because a multi-megabyte image on a product page slows loading for customers on mobile data.
Use real image elements on your pages rather than putting key photos in CSS backgrounds, since Google does not index CSS background images. If you use a website builder or a developer, this is worth a quick check.
If you plan to list products on Google
Google Merchant Center has its own image rules. Per its help page, product images should be at least 500 x 500 pixels, with about 1500 x 1500 pixels or larger recommended. Files must be under 16 MB, JPEG and WebP are recommended, and the image should show a clean, unobstructed view of the exact item being sold. Google also asks you to avoid overlays and added text such as "Shop now," prices, discounts, "Best" or "New" labels, watermarks and added logos. In practice, keep promotional graphics for your social posts and keep your product feed images clean.
A simple weekly routine
Shooting products one by one every day wastes time. Batch it.
- Pick one day a week and gather the new items.
- Set up the corner once and shoot everything in a single window of good daylight, ideally mid-morning.
- Pick the best frames, edit lightly, and rename files.
- Save a folder per product, so photos are ready for Facebook, Instagram, WhatsApp catalogue and your website.
If you already plan posts ahead, this slots neatly into a content calendar. And once customers like what they see, photos in your reviews and listings reinforce trust, which supports getting more Google reviews.
Common mistakes to avoid
- Shooting under mixed lighting, which shifts colours.
- Using the front camera or a dirty lens.
- Heavy filters that change the product colour.
- Cropping the product too tightly or cutting off edges.
- Reusing one photo for several variants.
- Uploading original camera files straight to the website.
- Skipping alt text and leaving camera file names.
Frequently Asked Questions
Do I need a tripod for product photography with a phone?
No, but it helps. A tripod keeps every shot at the same distance and angle, which makes your catalogue look consistent. A stack of books works if you are on a budget.
Is a white background required?
Not for your own website or social media. A plain, light background is the safest choice, though, and if you plan to advertise products on Google, clean backgrounds and an unobstructed product view are what its image rules ask for.
Should I add my logo or price on product photos?
Not on the main product image. Google's Merchant Center rules discourage watermarks, prices and promotional text on product images. Put offers in your captions or in separate promotional graphics.
How many photos does each product need?
A good starting point is four to six: front, side or back, a detail close-up, a scale shot, an in-use shot and, if relevant, the packaging.
Can AI-generated or stock images replace my own photos?
For the product you actually sell, no. Google's feed rules ask for images of the exact item being sold, and customers want to see what they will receive. Stock or generated images can work for backgrounds or banners, not for the product itself.
Conclusion
Good product photos come from steady light, a plain background, a clean lens and a repeatable routine. Add descriptive file names, honest alt text and sensible file sizes, and your photos will work harder on your website, on social media and in search.
If you would rather hand this off, Media Mitra Technologies can help with product shoots, graphic design and the website or social pages that show your products at their best. Get in touch with our team and tell us what you sell.